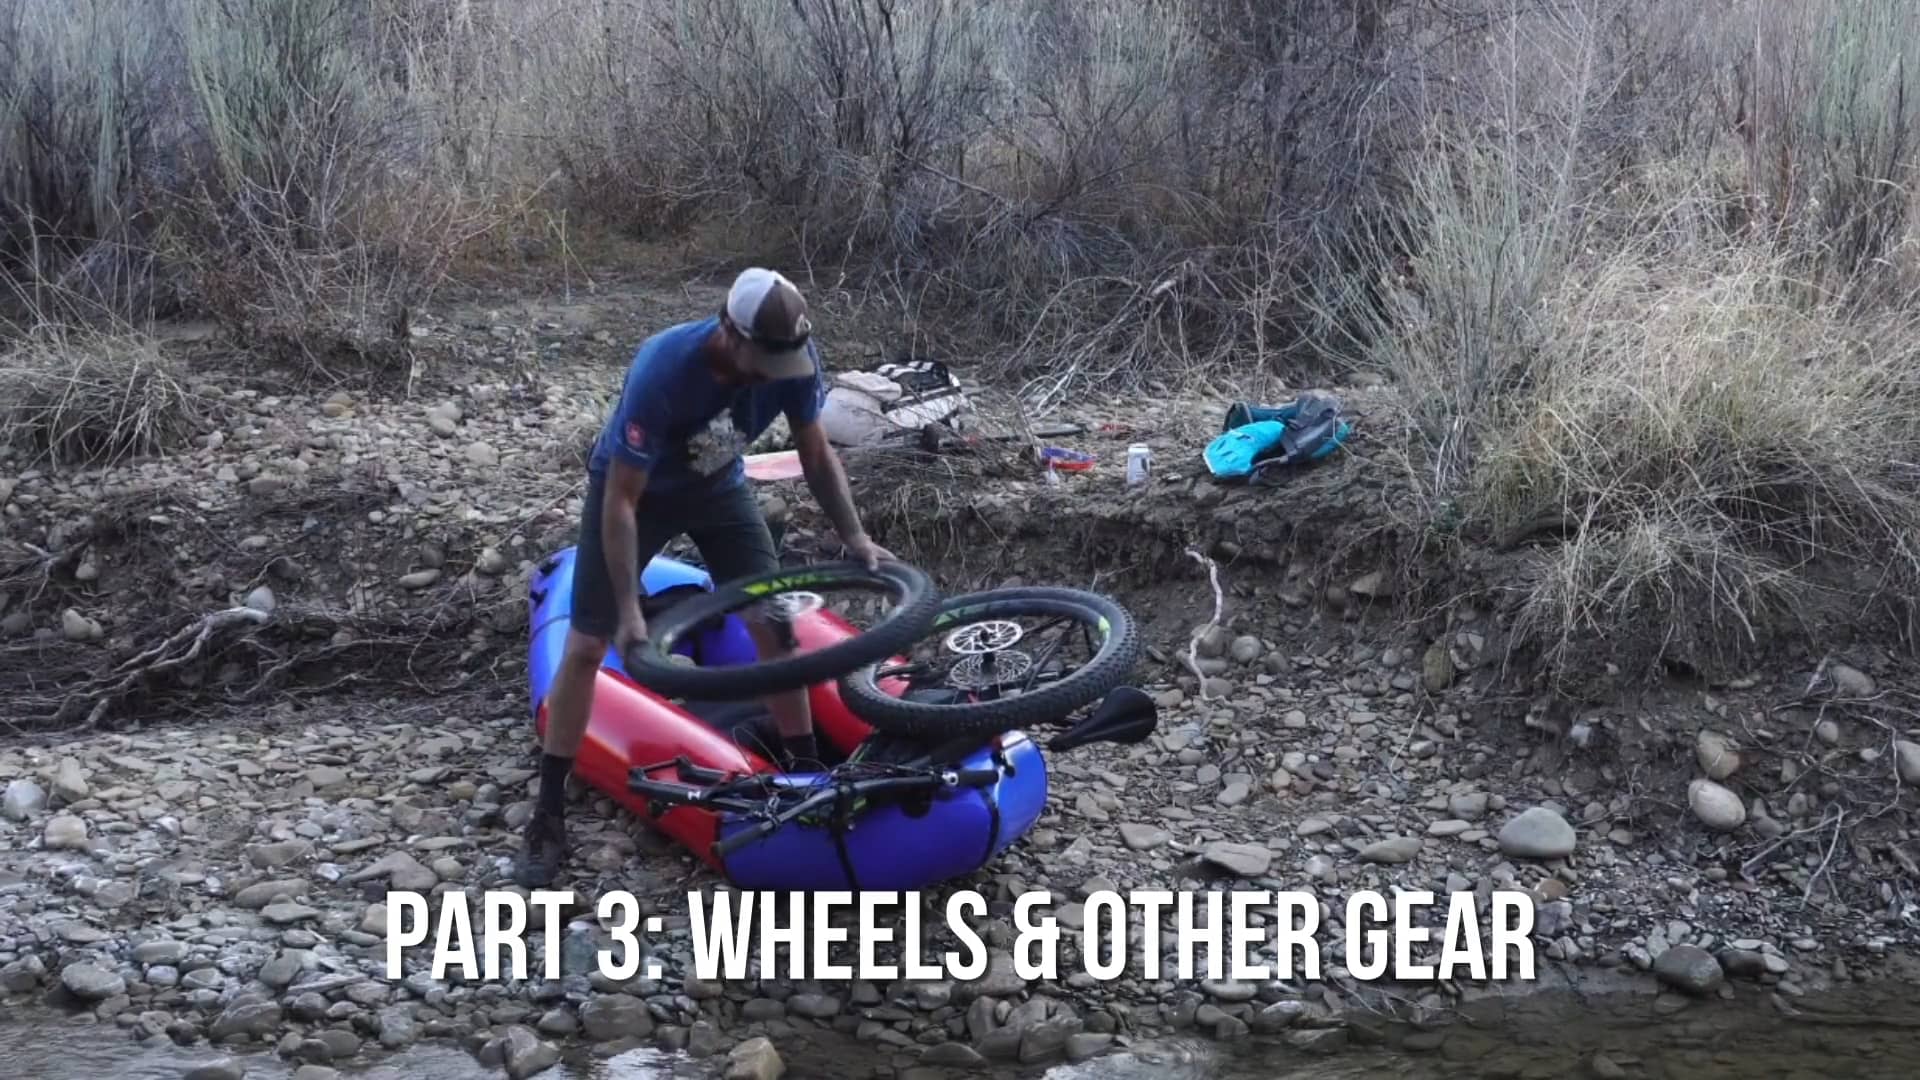
fourcornersguides.com/bike-on-a-packraft/ - This is part 3 of a 3-part video, in which multi-sport adventurer Steve "Doom" Fassbinder walks you through how to lash your bike to your packraft, specifically how to deal with getting your wheels and other gear on or in your packraft.
Please consider signing up for our enewsletter to get updates on new how-to and adventure videos, chapter releases from The Bikeraft Guide, and info on our tours: eepurl.com/gyXFMv
Steve is the lead guide for and co-owner of Four Corners Guides, along with Lizzy Scully. They are writing a how-to, history of, and wild stories about bikerafting guide book. The book project will include various videos featuring Doom, such as this one, along with stories, interviews and videos by, about and featuring more than a dozen bikeraft experts around the world. We've published one "Pirates of Bikerafting" stories that will appear in the book.
Here is a transcript of the video:
Wheels, I typically do rear wheel first down, making sure it's not hitting the frame or making sure it's not going to damage the frame when I place it. Then the front wheel.
I don't like that configuration... I do this differently every time, so it just depends. All bikes are different, all configurations are different. This is just kind of an average setup. So I like that.
You want to think about the weighting that you're doing right and left. So imagine your bike, you don't want most of the weight on one side or the other so you just try to visualize that and then once you strap your stuff down, put it out in the water and just hold the back end and you'll know right away if it's weighted to the one side or the other and then you could rebalance things.
All right. I like to use a bungee cord to strap the wheels down just because I feel like it kind of grabs more. If you have more ski straps, that's fine. But I like one good bungee cord to go through the whole thing. And then if I have some ski straps leftover, I'll add those in as well. You can get one bungee cord that can kind of do everything, both wheels. And then take a couple of straps and strap the rest of your bike down with whatever you have left.
Okay. Wheels are on and again, depending on your situation, you may have a lot of gear. If you're just on a day trip, you're not going to have much at all. So this is probably what it's just going to look like. It's you, paddle, PFD and you're ready to go.
Now if you're on a multi-day trip and you have a lot of stuff, maybe you'll have a pack like this size and maybe you have some other gear on here as well.
Generally I take my seat bag off. Anything that dangles off the bike or can get lost. If you've got a GPS or a Garmin on there, you want to take all that stuff off. Seat bag, definitely take off and then you have everything in your pack. You can strap extra stuff on top here.
But what I like to do for the sake of ease of paddling and being able to see, when you put your pack right here in the middle it's really hard to see, you can't see over them very easily. So I like to just take the air out of my seat and put my pack right where I'm sitting, you just sit on the pack.
Get rid of the rocks. You're pretty much ready to go. This is the most basic, simple, and I feel like bomber set up that you can have for biking and boating or bike pack rafting, bike rafting, raft biking, pack biking, raft packing, and all the other names you can think of.